How To Repair a Leaking Toilet
Inspect the Inlet and Outlet Valves
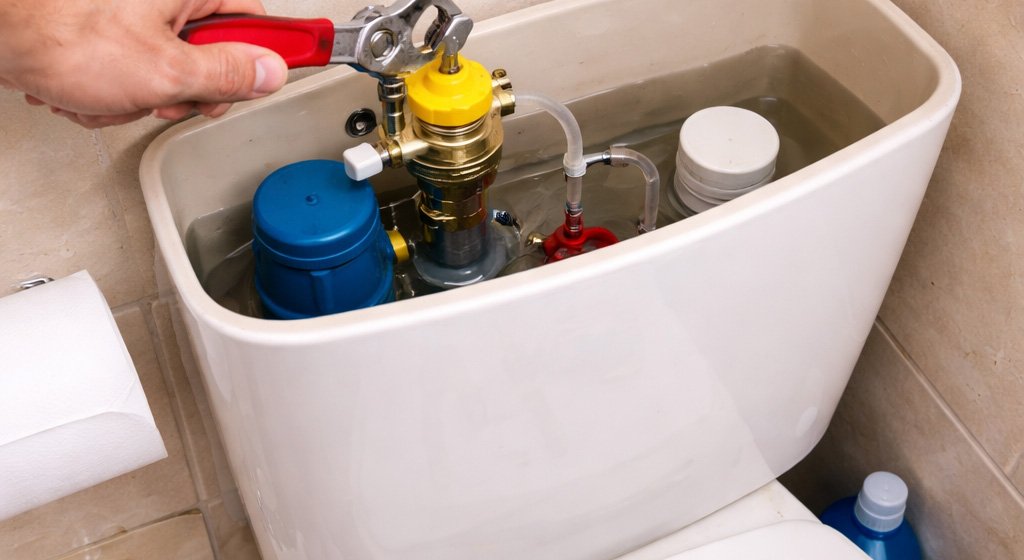
Get a good visual of what is going on in there. Sometimes just a few minutes of just taking in how everything seems to work can maybe save you hours. If the water level rises above the overflow of the outlet valve which is the one in the middle, the problem may be with the float or the inlet valve. The inlet valve is connected to the water pipe and the outlet valve is what drains the water from the toilet cistern into the toilet bowl. Remember that the float rises with the level of the water and tells the inlet valve when to shut off the flow of water. When the water level has reached its desired level but still does not stop off the flow then there is a possible issue with the inlet valve. When the water keeps rising and spills through the overflow pipe on the outlet valve and then into the bowl, then you will need to check the inlet valve, flush the toilet and, as the water rises, gently lift the metal or plastic arm that holds the float until you hear the water stop. Note: If you need to pull it up hard to stop the flow then the inlet valve may need to be replaced as there could be a crack in the plastic seat. If the water stops with only gentle pressure, the inlet valve is OK, and the problem is caused by the float which just needs and adjustment.
Adjust the Inlet Valve height
A screw at the top of the inlet valve allows you to adjust the water level of the float. With this adjustment, you should be able to reduce the level of the water so as to prevent the water from overflowing into the tank. If the adjustment fails to stop water from running into the overflow pipe, then the problem very likely is the inlet valve.
Turn Off the Water
If you test the inlet valve as described above and the water doesn’t stop, the problem is with the ballcock itself. Though it’s possible to repair a broken ballcock, it’s usually best to replace the whole assembly:
After turning off the water at the shutoff valve, flush the toilet and hold down the handle to remove most of the water from the tank. Remove the excess water at the bottom of the tank with a sponge.
Replace the Inlet Valve
Remove the water pipe whether it be copper or a flexible connection that connects to the bottom of the toilet cistern and the shut off mini tap which is either inside the cistern lid or below the cistern to one side. Multi Grips and a Shifter will be your best tools for this job.
Test the Outlet Valve
If you notice that there is no water in the toilet cistern and the water is still running but drains constantly then the problem lies with the outlet water valve. They are all a little different, but the one thing that most have in common is a twist to release concept. If you reach down to the base of the outlet valve and twist it to the side it should release and be able to be pulled out.
Once you have it out you can inspect the rubber. The problem can be that the rubber has swollen and therefore gets stuck on the side as it goes up and down the valve and therefore does not come back to rest down over the outlet pipe. This causes the water to past underneath it. The cheapest and best solution is to buy the correct outlet rubber and refit it. Remember it goes back in the same way it came out.